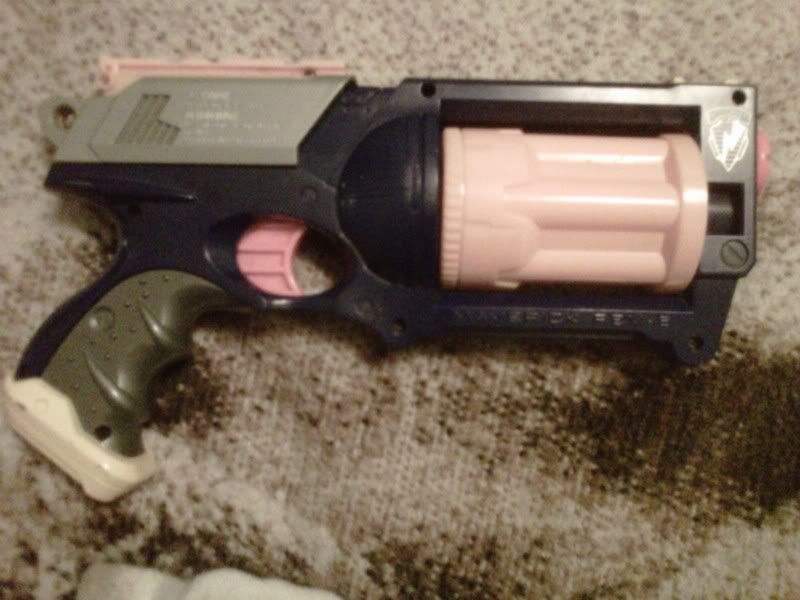
So we begin. Start with your gun.
Now, here the rest of the shell should just lift up, unless you have a White-Out Series Maverick, in which case you just need to slide the blade edge of a knife around the separation of the shells, as they have started to glue them together.
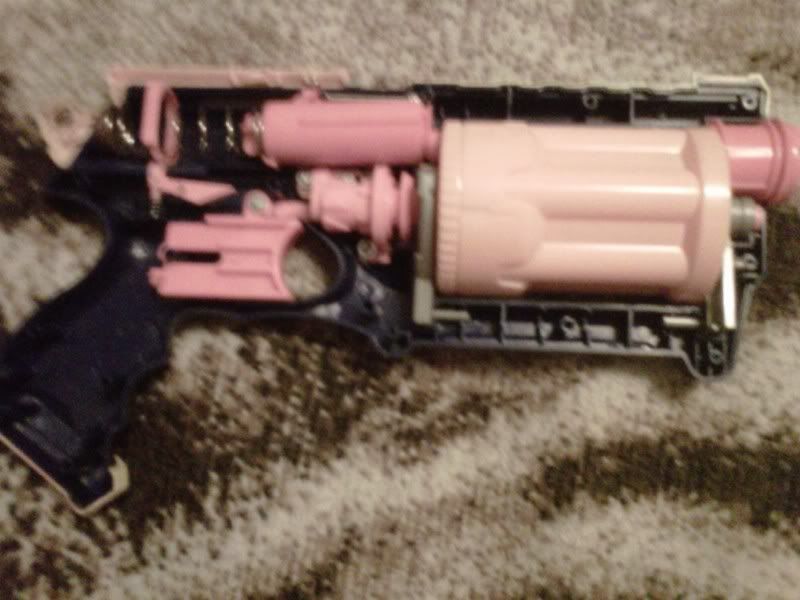
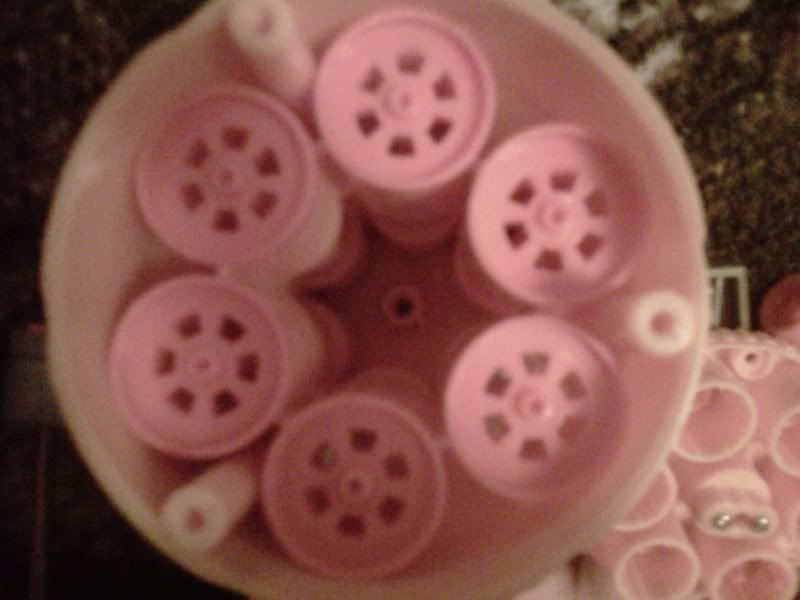
The internals after you open the shell:
No, you'll want to take out the cylinder (in this color variant it's yellow, in the yellow it's black). To make it easier on yourself, push the button on the side of the shell, to release the cylinder. Then look at the front of it.
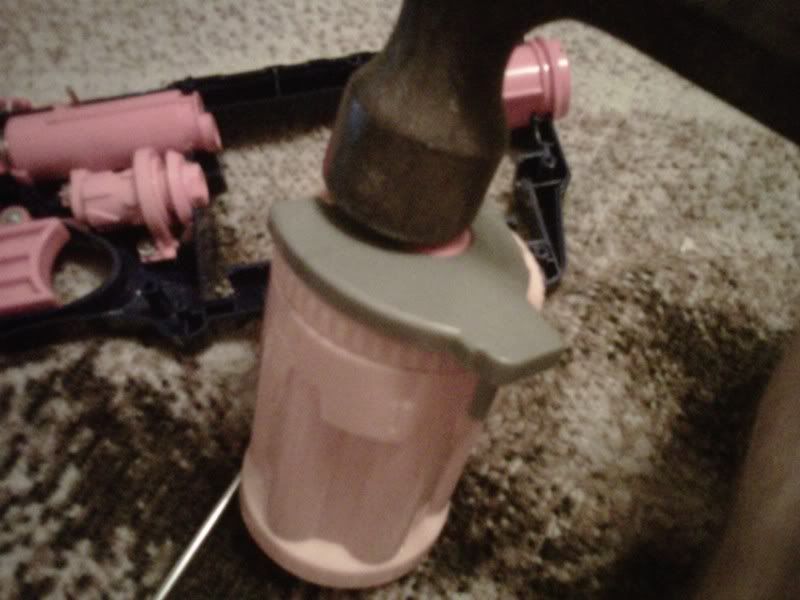
This one of the few challenging parts of this mod, insert a hammer's claw into the front of the cylinder. Like so;

Apply moderate pressure against it, until the bar comes out. You will have two pieces shoot out the back, keep track of those.

Now go to the back of it. Unscrew 3 screws (you will have to rotate the gray piece to do so). In my picture I had the orange piece sitting in there, to show that that is where it goes, it is usually out of the gun at this point, but this picture is for you to remember where it goes if you somehow forget.
Then you can just lift the top piece off, and see this.

Some of the pieces come out and fall out, some stick into the piece of the cylinder you just lifted, but the springs and the smaller circles can be thrown out, stored, destroyed, or put into your parts bin, as they are unneeded.
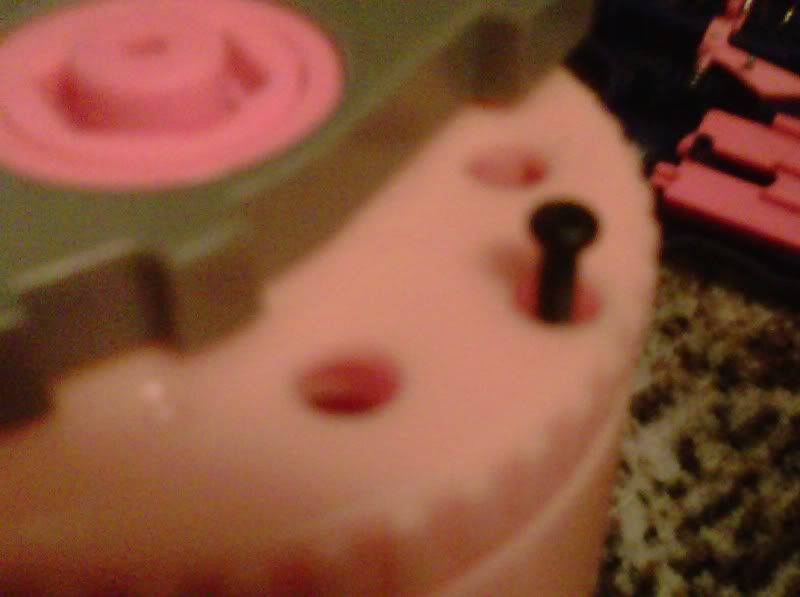
These are the two useless pieces I was referring to;

After removing these, you should see this;
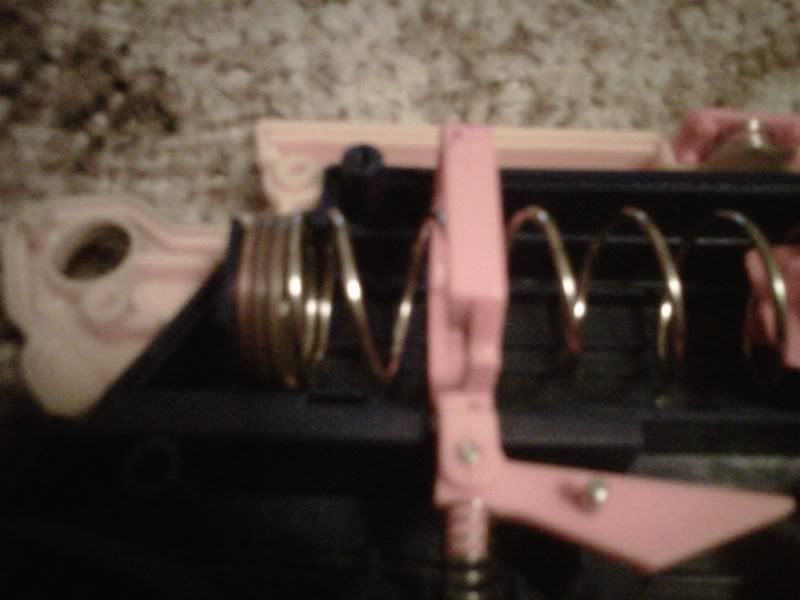
Now, usually people would drill out those pegs or even replace parts with CPVC, but in the heart of keeping this mod as an entry level mod for an entry level blog, this is as far as we go for the Air Restricter removal. Leave those in, and close back up the cylinder. Be sure to screw the cylinder back together, and put the bar back through it carefully, then put the two pieces that flew off before back on, first the spring, then the orange stopper. You should give it a light tap with a hammer to get it all back together, like so;
After that is back together, all that's left is a little pre-compression. It may sound daunting, but all it means is making the spring have a little less room. In this case, we'll use the good ol' Penny Mod. Just put a few pennies behind the spring, I have used up to 6 before, but in this case I used 3. There's not much of a difference, but it helps that little extra bit.
Then just screw it back together and test it out! Make sure it primes properly and you should have a lot more power to your little gun.
Hope this mod helps! If there is any questions at all as to what I meant by something,
just ask and I will post another image, or a more detailed image than what I had.
Also, some other mods that could have been done that are relatively simple, Russian Roulette, spring replacement with a Double Shot spring and CPVC barrels.
I did not make this mod, I am simple doing the typical Maverick mods. If there is any other mods you would like to see, be sure to ask and I'll be happy to post them. Happy Nerfing!
Oldie but a goodie. When I run Nerf Games, I often have a screwdriver on hand to do "field modifications". I've essentially modded blasters on site like the Maverick since they don't really require a whole lot of tools to do so. Nice write up, though!
ReplyDelete