This is a Buzz Bee Torrent, they can be found at Target for $14.98. At first they get 25'-30'. Mine had a messed up seal so I decided to fix it up TO THE MAX. I will be doing Jerms mod for CPVC barrels, only I will take out the black piece in the back, as well as make them rear loading capable. I will also add a spring that I'm almost positive was from a Home Depot spring pack.
Start with the gun. Picture belongs to Target.com, I have it here to show proof it's still an available gun.

You can take off the green part if you would like, I have no pictures of this yet, I will probably add some soon. Sorry guys, that step is optional anyway though.
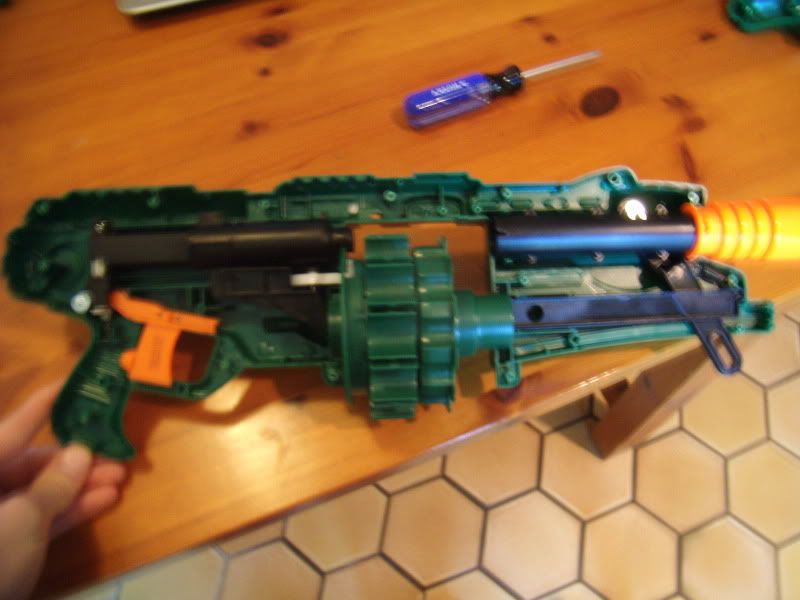
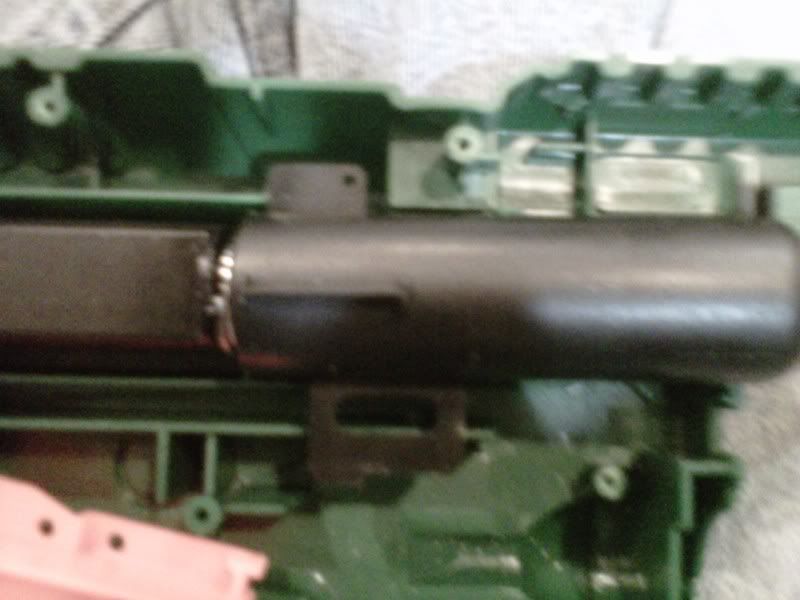
Open up your gun, for once a gun with a reasonable amount of screws.
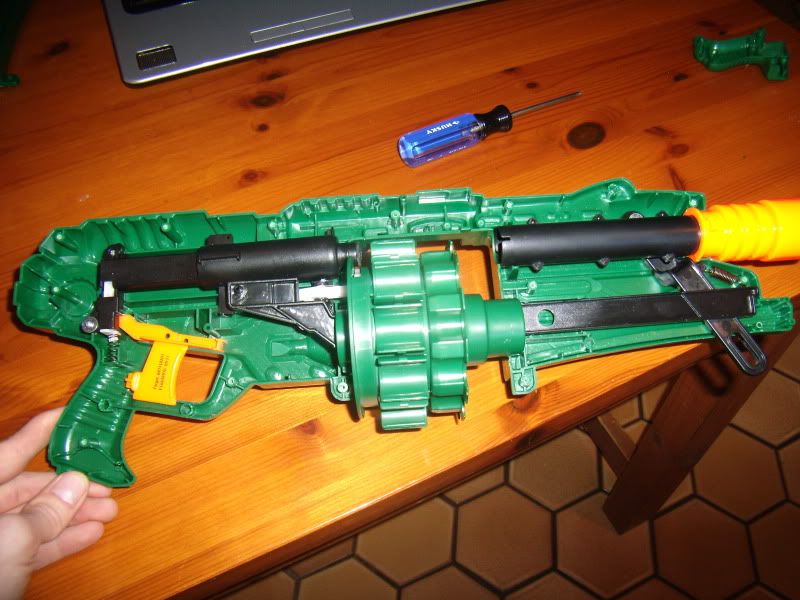
Better picture?
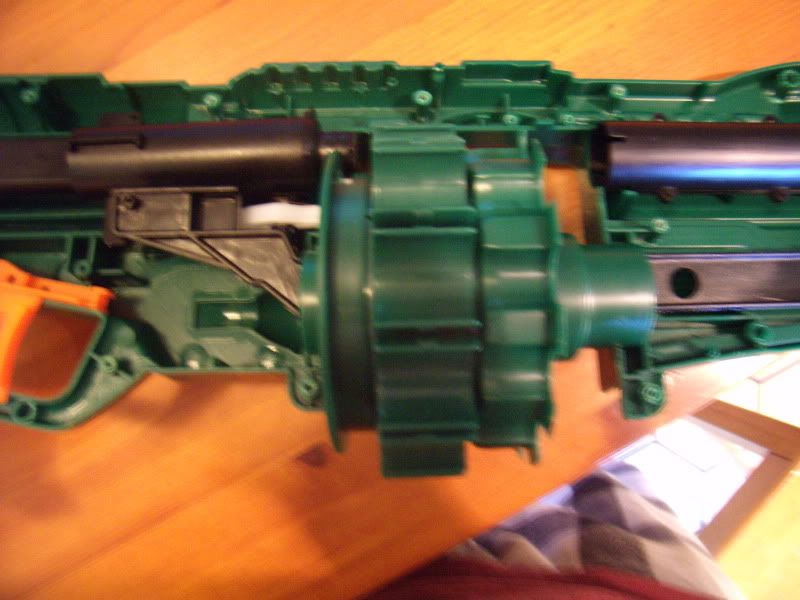
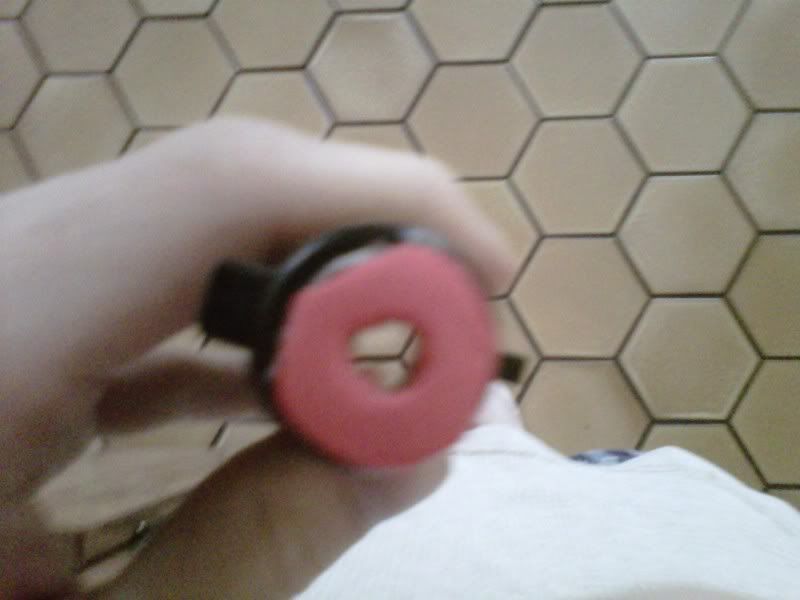
Now look at this part.
See the hole?In there is a tiny screw.
You have to slide the black bar back a bit with your thumb.
Unscrew that and keep track of it. It's slightly shorter than the other screws, I doubt it'd cause much trouble to use a different screw in the wrong place, but let's keep it in case.
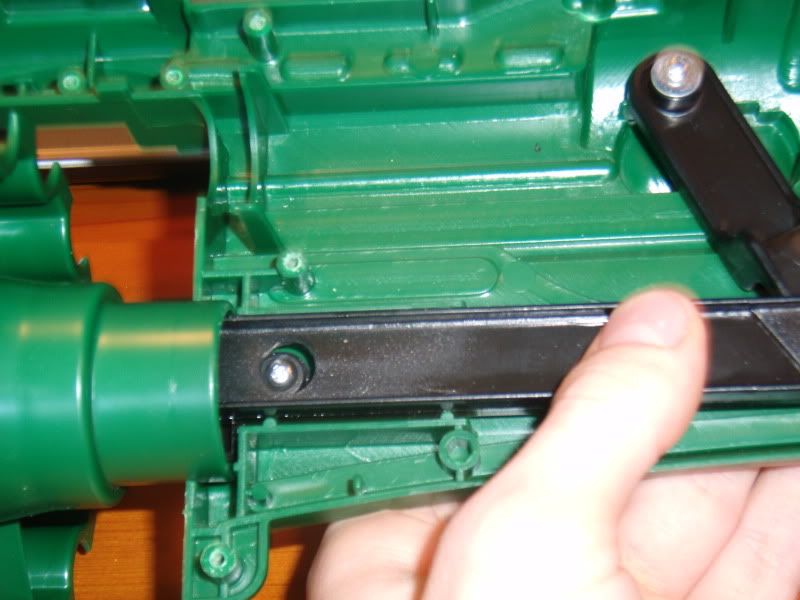
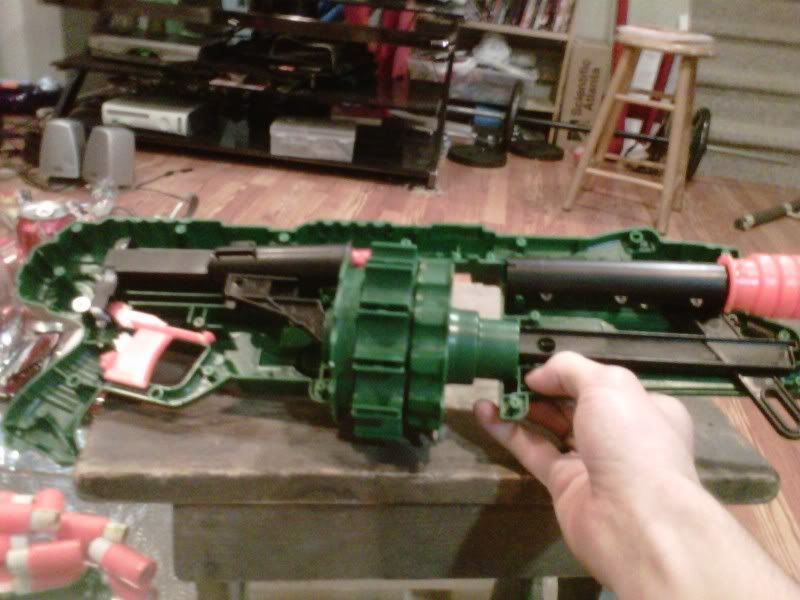
After removing that screw the whole turret just lifts out, grab it from the turret, though that goes without saying.

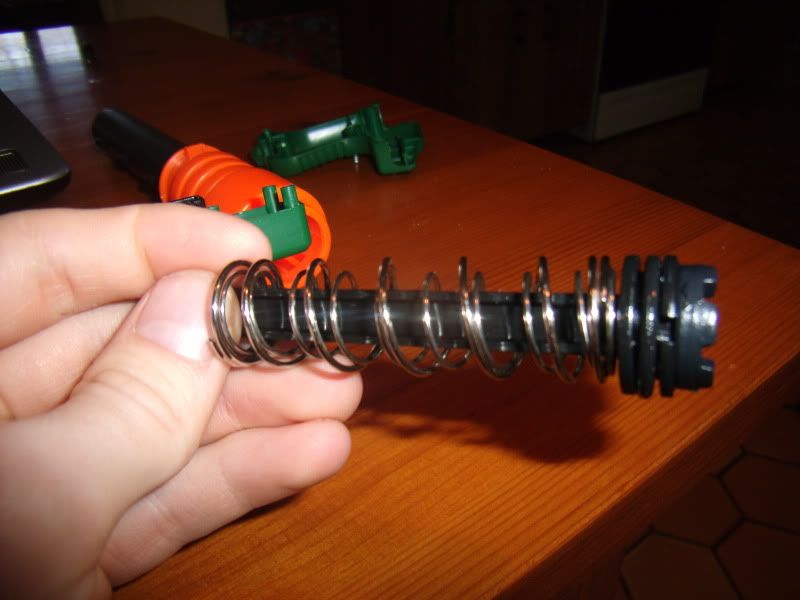
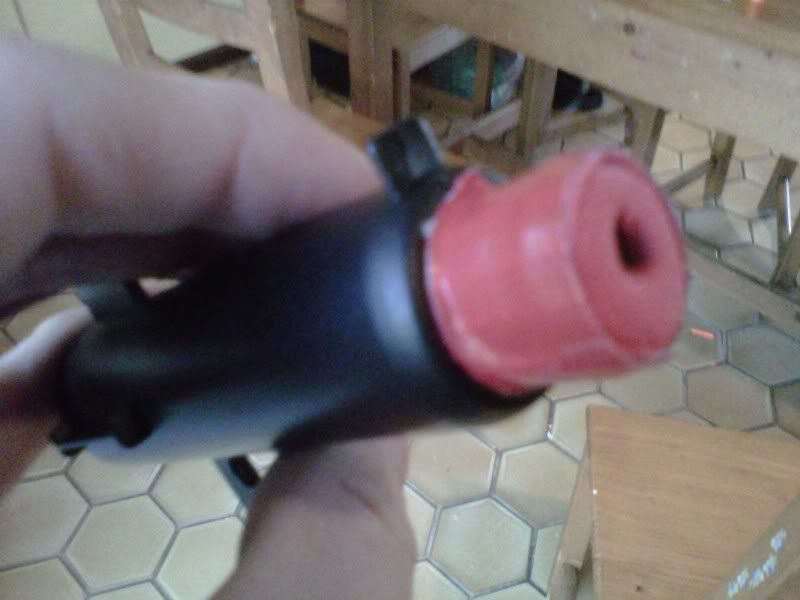
Now that that's out, you can carefully remove the Plunger Tube (PT).
Here I took out the spring, and put in a Home Depot thin spring, and a Firefly spring.
The stock spring is brown ish, much like a Double shot. My springs;
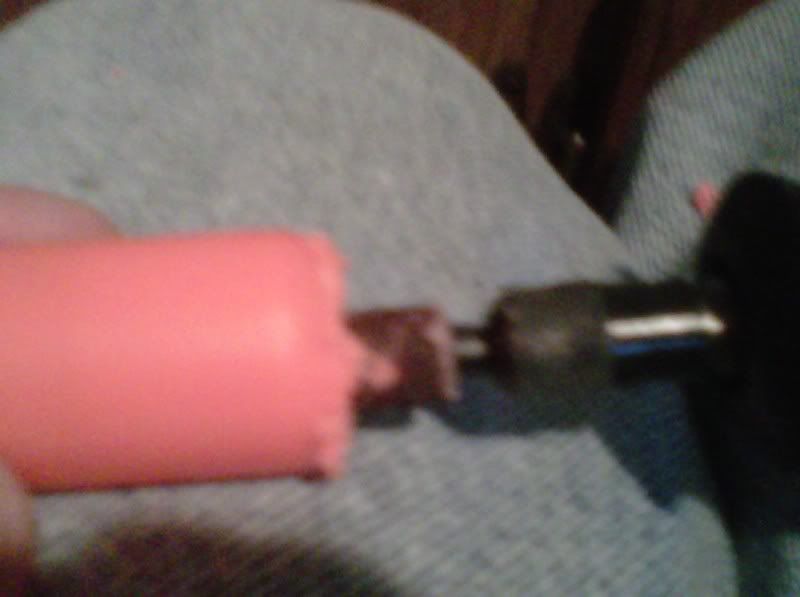
I also replaced it with a NiteFinder O-ring. It surprisingly gave it a perfect seal, as in, if I have one hand on the opening of it, I can't push the rod farther in or out it.
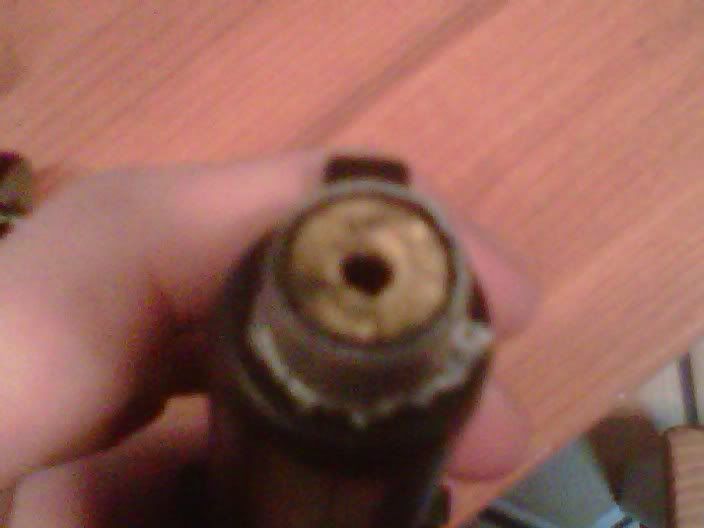
If you notice the black stuff covering it, that's from the messed up seal job before this one. I'll be fixing that.
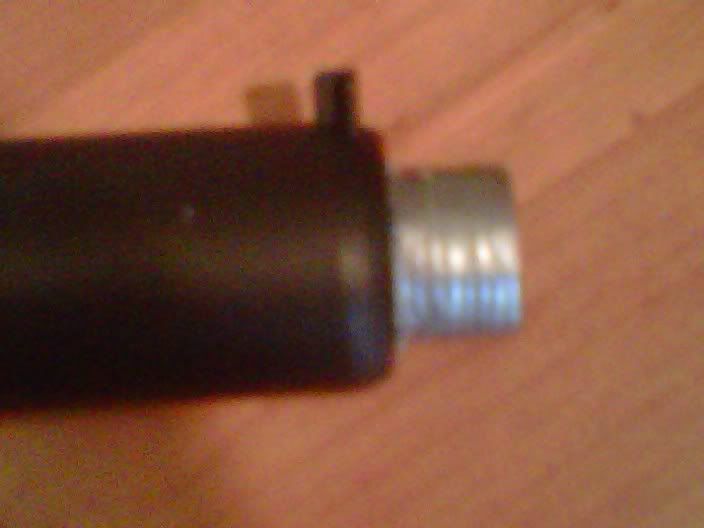
Keep wrapping.
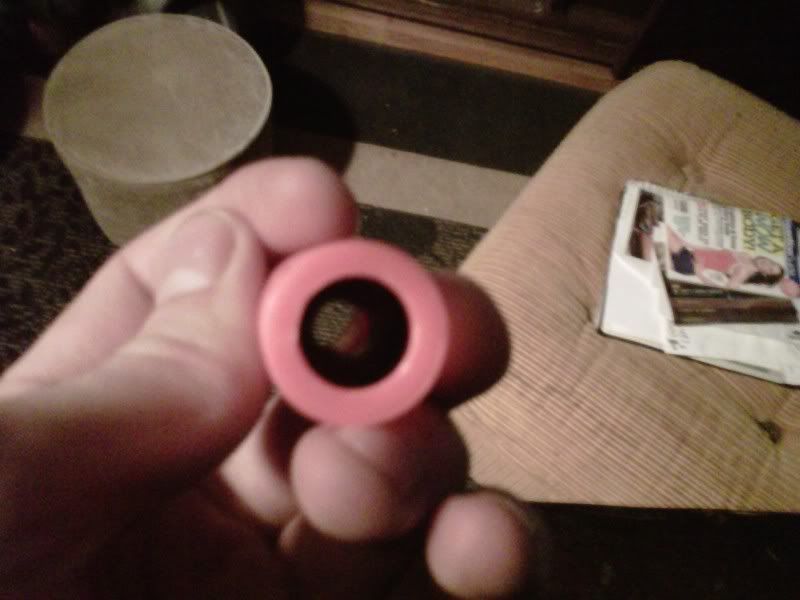
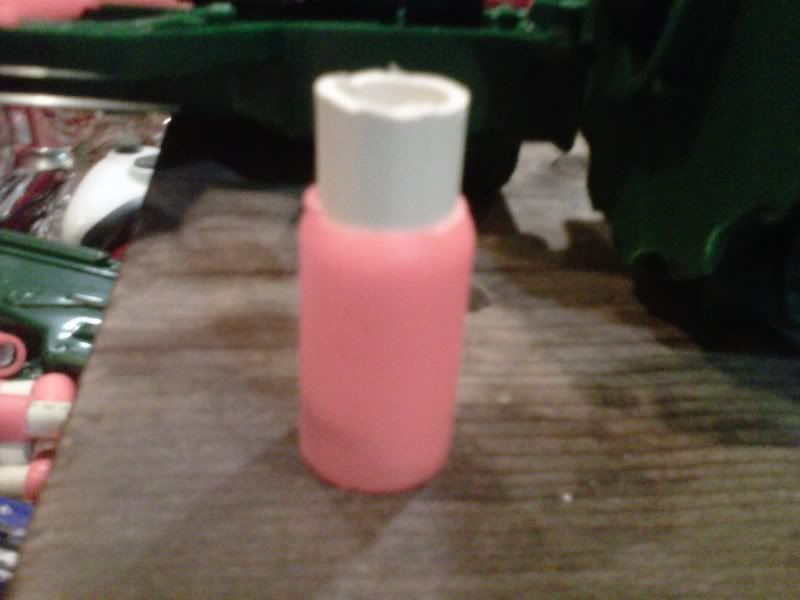
Now we're going to want to make the seal larger. We'll use craft foam and to cover a large enough portion of the "shell' so that it's larger than a Stefan. When I say enough to cover the shell, I mean an orange shell, not the gun itself's shell.
As you can see, after I did that I drilled down it and made the hole larger than it was originally. For a little extra style points (and mostly because I lost the charger to my drill) I drilled this with only my hands and a drill bit. I'll be doing that for the shells as well. (P.S, were this an official write up I'd leave that bit out).
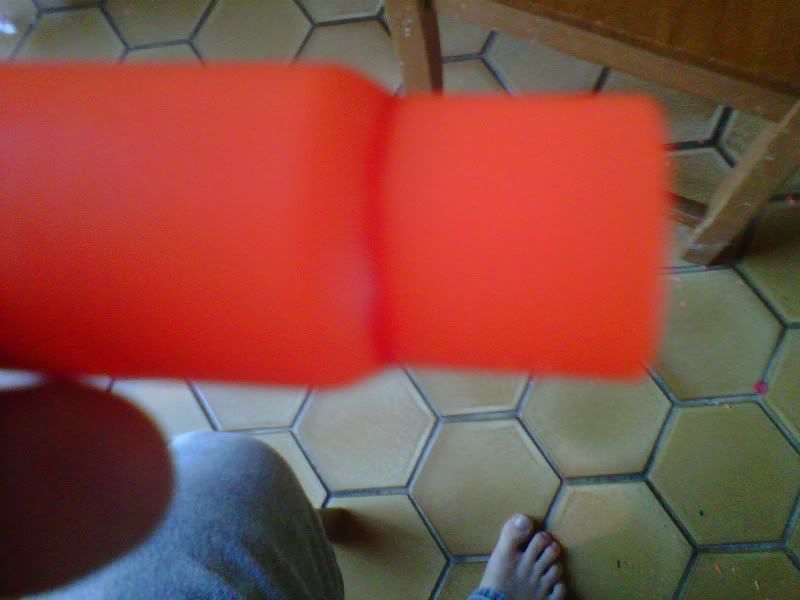
After that, we'll wrap a layer of craft foam around it, and then cover it in duct tape, sorry for the color shift, to make it look nice, I used red for this as well. If you can't tell by the blog, I love red.
That's it for the seal. Now to do the part for the shells.
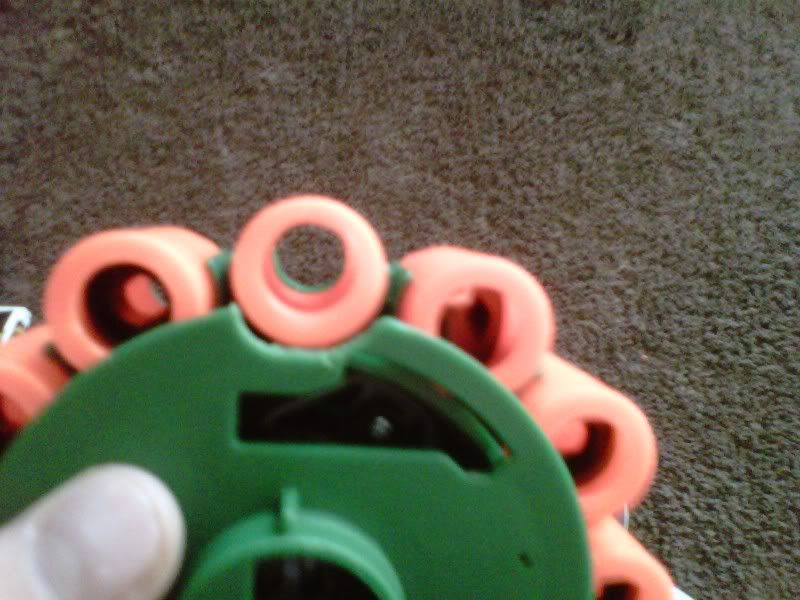
Drill these out with a 9/16th drill bit.
There we go. All that's left in the shells is the lame black part.
To get closer, let's cut along here, I drew a red line.
 |
| Right towards the middle. |
Sand it out, which for the black piece if you want to be lazy I guess you could wait to put some cpvc in it, as it would just need to be sanded a bit and wouldn't spin around while sanding.
Also you could pry it out with tweezers.
Slap some cpvc in, around 1.5", size isn't too important, just don't make it too long.
Now you have 1.5" barrels, they could be longer if you'd like that, but 2 seems good enough for me.
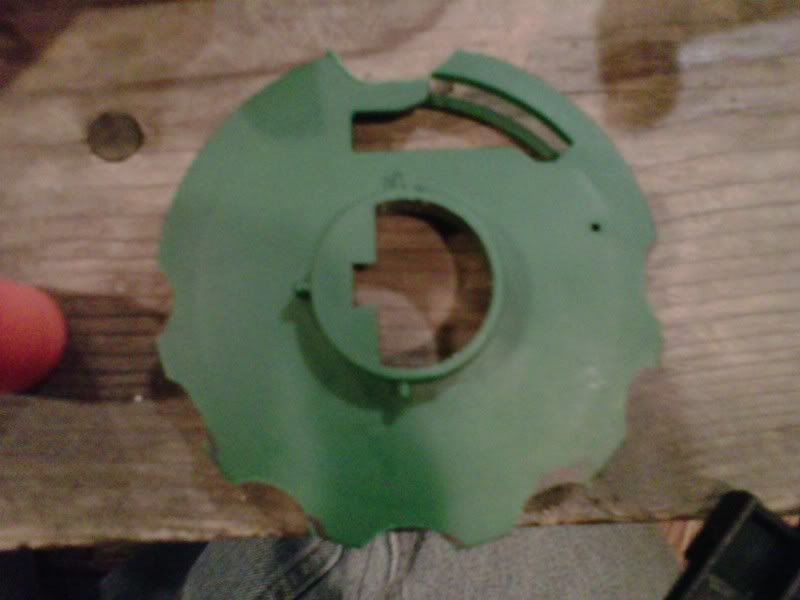
Now to work on the turret itself.
In the back part of the turret, there is a white piece with a screw in it. This ejects the shells. DESTROY IT.

Or, you know, just unscrew and move it.
The new Plunger Tube head wont fit in the back of the shell, so let's dremal/sand it a little larger. Note, this doesn't have to be an exact cut at all, nor do any other cuts for this mod.
Make the top cut for the PT larger.
I also marked and cut where the shells would go on the bottom and sides, and sanded them a little so that the darts could rear load into the shells..
Put everything back together, don't forget the little tiny screw, and your gun should look like this (with the shell half off)
And the finished product;
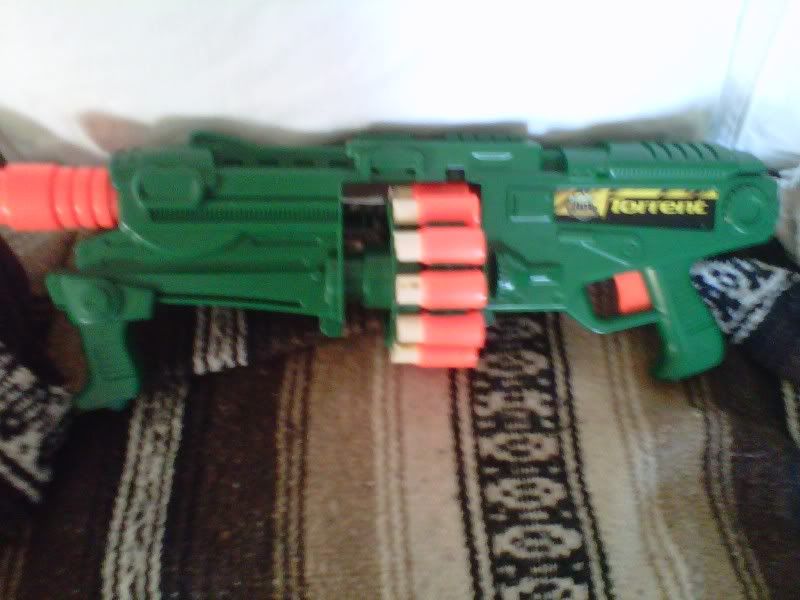
Finally range is a LARGE improvement, I'm confident to say 55' angled (as that's the only way to do range over 30' indoors) but I can't officially test it until the crazy NJ winds die down one of these days. Comments? Please give me tips on how this write-up is! I want to make it better.
I am painting one of those right now! Definitely makes me temped to try this!
ReplyDeleteNeato! I would just say to use the "Macro" function on your camera for close-up shots so they're not quite so blurry. Photo quality not only helps with general presentation, but also lets us see all the details so it's easier to follow the picture as a guide.
ReplyDeleteCould you take video of this fella being fired? It's not a big deal, but it'd be neat to see it in action.
@Brian- Awesome! If you do this and come up with anything that I wasn't clear on keep me posted, I really want to make this write-up better before I post it.
ReplyDelete@Mike- Sadly my camera isn't the best and lacks a macro button. However it has a sub-par video function that I hope to use tomorrow to take a video of this for you. I'd take it now but I broke a few old stefans today and I only have 6 left.
excellent write up. i love the buzz bee line of blasters. lookin good. you plan on painting it in the future as well?
ReplyDeleteThanks :D Any tips on the write up itself? And I might, though I loathe painting. Creativity isn't my strong suit when it comes to looks.
ReplyDelete